


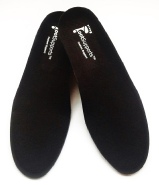
FootSupports Custom Orthotics Fitting Instructions
To ensure that you get the most out of your FootSupports Custom Orthotics, PLEASE READ THE FITTING INSTRUCTIONS CAREFULLY!
For Answers to some of the most commonly asked questions, check out the Custom FootSupports FAQ.
Podiatry Specialist - Foot Care Treatments, Biomechanical Analysis and Orthotics Manufacture.

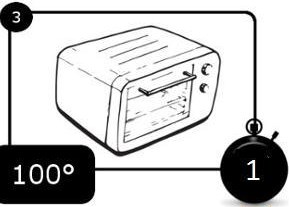
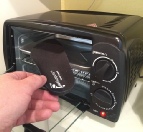
1. Pre-heat the oven on bake to exactly 100°C.
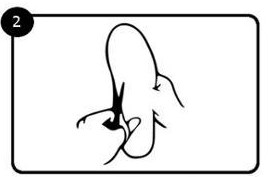
2. If possible, remove original insole from your shoe.
Use your old insoles as a guide to trim your new Custom Footbeds to exactly the right size.
WARNING: Do not cut them too short.
3. Place your FootSupports Custom Orthotics in the oven for exactly 1 minute.
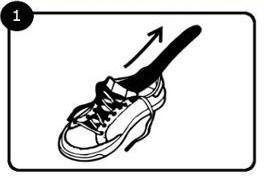
4. Once they are out of the oven, immediately put them into your shoes. (Ensure they are sitting flat in your shoes and the toe area of the insole is not bent over)
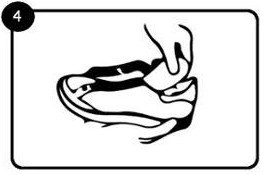
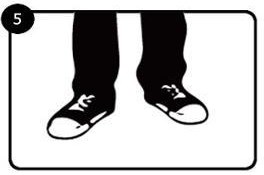
5. Put your feet in right away, make sure your heels are against the back of the shoes and lace them up. As a guide, when you bend your knees, your knee cap should be directly over top of your second toe.
Stand straight with your feet shoulder width apart and your toes pointed directly forward for 2 minutes.
Your body may need to adjust to this new level of support. Therefore, it is recommended that you break in the fit over a three-day period, slowly increasing the time you wear your FootSupports Custom Orthotics each day. If you feel you need an additional adjustment to the fit after three days, repeat steps 1 through to 5.








Copyright © 2025 Footcare Centre (UK) www.FootcareCentre.com


| Ready Made Orthotics |
| Modified Ready Made Orthotics |
| Heat Moulded Ready Made Orthotics |
| Custom 3D Printed Orthotics |
| Parrafin Wax Therapy |
| Orthotic Arch Supports |
| Gel Insoles & Pads |